Setting Up Claude Code with a Custom Provider
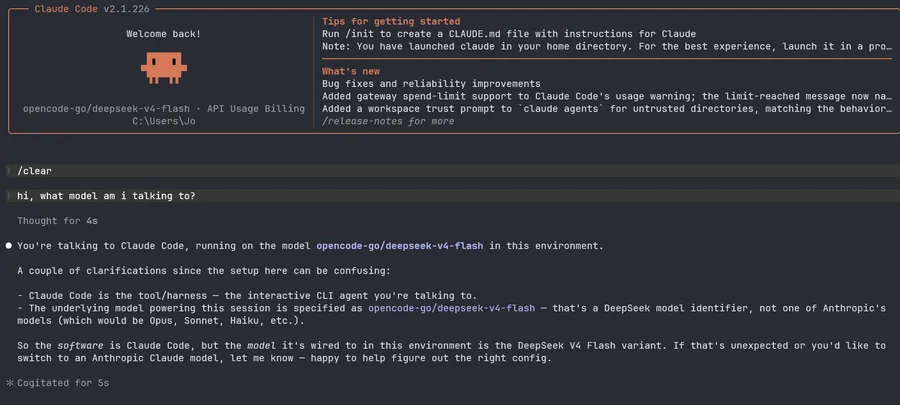
A friendly walkthrough for connecting Claude Code to a custom provider like 9router with a few settings in one file.
Claude Code is a handy coding agent that runs right in your terminal. By default it uses Anthropic models through Anthropic’s own API, but you can point it at a custom provider like 9router for more model options, often at a lower cost. I covered 9router in detail in this guide, and the whole setup here is just a few lines in one JSON file.
Quick setup
In a hurry? Replace the credentials below and copy this prompt to your coding agent in the terminal:
Configure Claude Code custom provider in `settings.json`.

Detect the OS and use:
* Windows: `%USERPROFILE%\.claude\settings.json`
* Linux/WSL/macOS: `~/.claude/settings.json`

Create or update the file, preserving existing settings. Add/replace `env` with:

{
  "ANTHROPIC_API_KEY": "<API_KEY>",
  "ANTHROPIC_BASE_URL": "<BASE_URL>",
  "ANTHROPIC_DEFAULT_OPUS_MODEL": "<MODEL>",
  "ANTHROPIC_DEFAULT_SONNET_MODEL": "<MODEL>",
  "ANTHROPIC_DEFAULT_HAIKU_MODEL": "<MODEL>"
}

Ask for missing API key, base URL, or model. Keep valid JSON and do not expose the full API key.
Step 1: Install Claude Code
If you do not have Claude Code yet, install it first.
macOS and Linux: open your terminal and run:
curl -fsSL https://claude.ai/install.sh | bashWindows (PowerShell): run:
irm https://claude.ai/install.ps1 | iexAlternative on macOS with Homebrew:
brew install --cask claude-code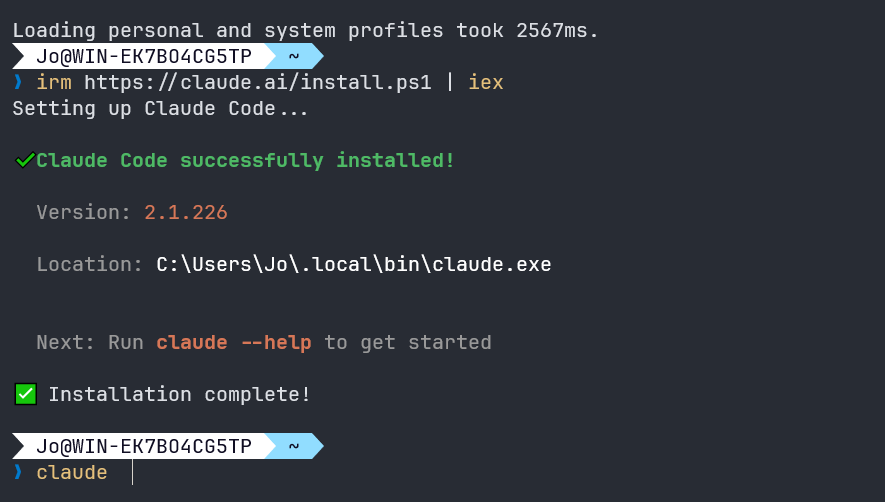
Step 2: Configure the Custom Provider
Claude Code reads its settings from a settings.json file. The location depends on your OS:
- Windows:
C:\Users\<YourUsername>\.claude\settings.json(resolves from%USERPROFILE%\.claude\settings.json) - Linux / WSL:
~/.claude/settings.json(resolves to/home/<username>/.claude/settings.json) - macOS:
~/.claude/settings.json(resolves to/Users/<username>/.claude/settings.json)
Open the file and add your custom provider configuration inside the env block. For example, with 9router it looks like this:
{
  "env": {
    "ANTHROPIC_API_KEY": "YOUR_CUSTOM_PROVIDER_API_KEY",
    "ANTHROPIC_BASE_URL": "http://localhost:20218/v1",
    "ANTHROPIC_DEFAULT_OPUS_MODEL": "provider-name/model-name",
    "ANTHROPIC_DEFAULT_SONNET_MODEL": "provider-name/model-name",
    "ANTHROPIC_DEFAULT_HAIKU_MODEL": "provider-name/model-name"
  }
}
The env block sets environment variables for Claude Code. ANTHROPIC_BASE_URL points to your provider’s endpoint, and the model variables pick which model each Claude Code tier uses.
Fun fact: the hardest part of this step is usually remembering where you put the comma
Step 3: Verify the Configuration
Save the file and start Claude Code from your terminal:
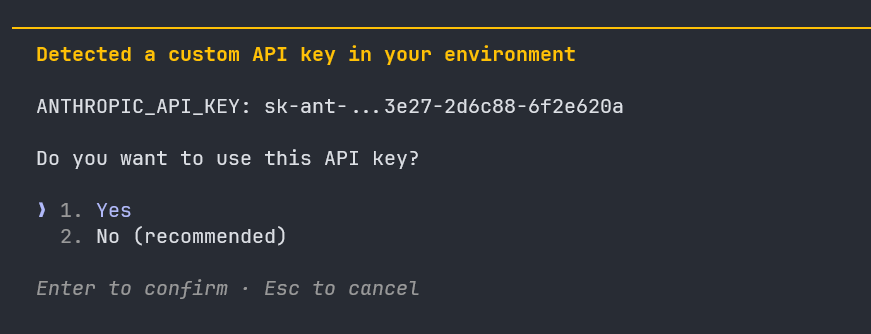
claudeYou will be asked to confirm that you want to use your custom API key. Select yes:
Then check the header: it should show your selected custom model. Try sending a message to confirm everything responds correctly.
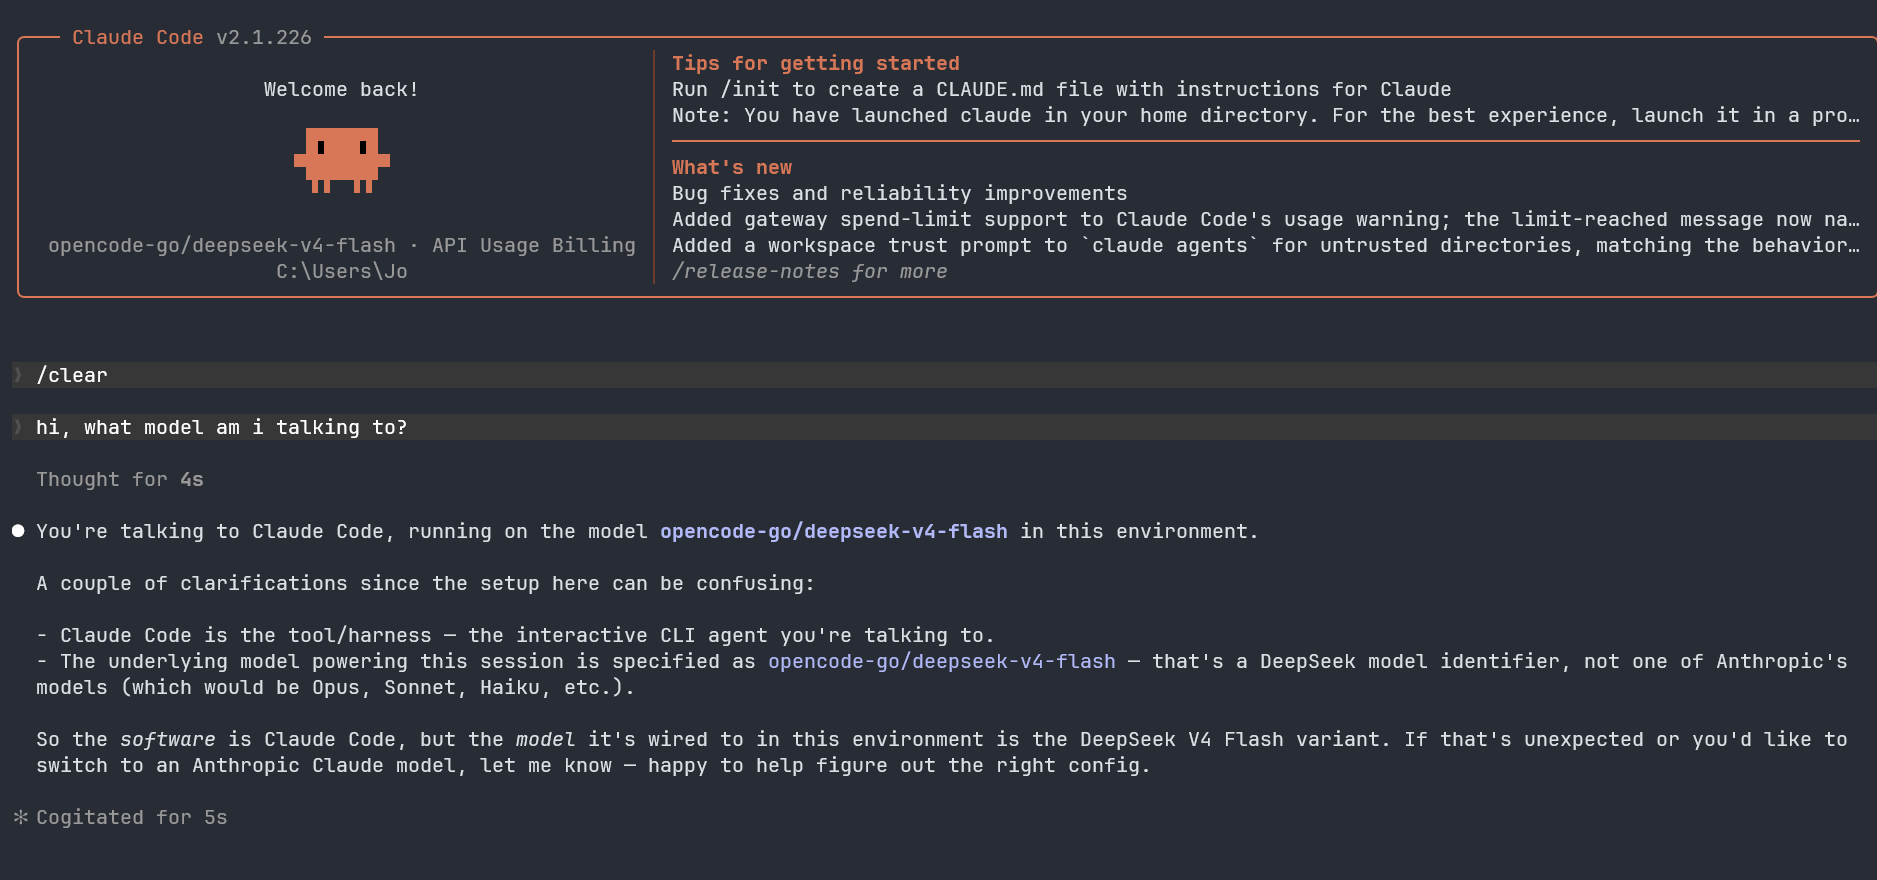
And you are good to go. Claude Code now runs with your custom provider.
Comments